Road Bike Rider Cycling Site
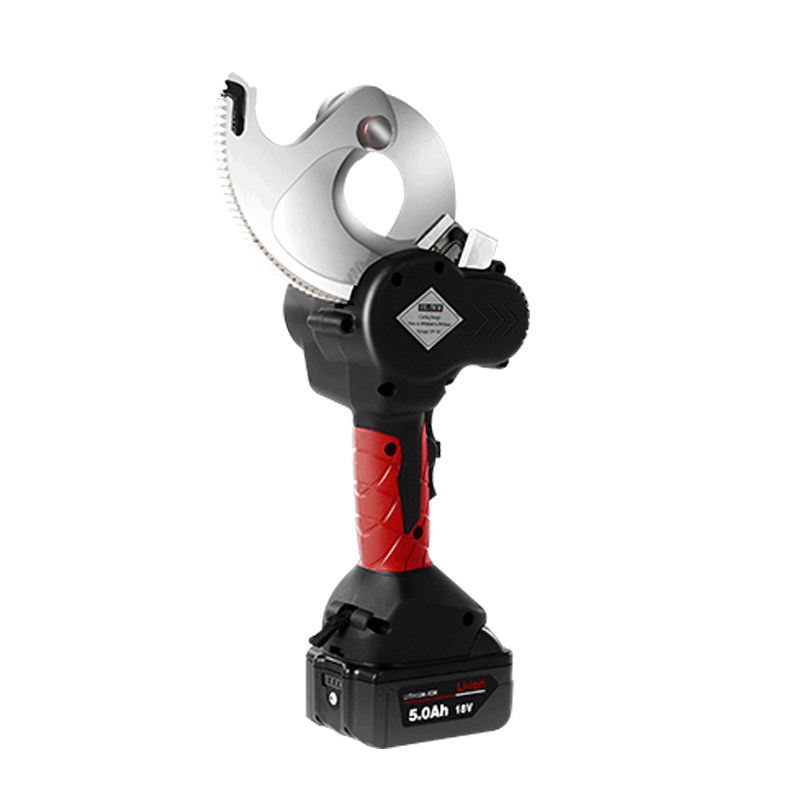
Expert road cycling advice, since 2001 Cable Lug Crimping Tool
Most bicycles today still use wire cables. The exceptions are those with hydraulic-only disc brakes and also electronic shifting. But some of those could have a dropper seatpost operated by a wire cable.
If you have a bike without wire cables and you never work on bicycles with them, feel free to scroll to the next article.
The thing about wire cables is that they’re made up of a bunch of smaller wires all wound around each other. The ends of cables are cut at the factory in a way that ensures these smaller wires cannot unwind (keep reading). During bicycle assembly however, the cables are cut to length and once this happens they have a tendency to fray if you don’t prevent it. And you should prevent it because frayed cables are unsightly and even a little dangerous because a wire could jab you when you’re handling the bike.
The first way I learned to prevent fraying was to solder the ends of the cables. This was back when cables were plain steel, which accepts solder. You could do it with a little flame and a dab of solder. I was never very good at it. You didn’t want a blob of solder, you wanted all the tiny wires to be soldered together with the cable still the same diameter as before and with a nice clean cut.
The beauty of a perfectly soldered cable end like this was that if you had to remove a cable say to grease it, you could then easily pull it through the cable housing and push it back in too. Without the end being soldered the cable would usually fray a little over time making it difficult to impossible to push it back into the housing sections if you pulled it out to grease it.
My soldering skills never improved very much so I was happy when Schwinn came along and provided Schwinn Authorized Bicycle Dealerships with little plastic caps to push onto the ends of the cables to prevent fraying. These looked a little cheap but they were light, easy to install and remove – and they did prevent fraying.
As a side note, I can’t remember for sure but these little plastic cable caps (sometimes called cable “ends” or later “crimps” – you didn’t crimp the plastic ones) might have come along as a result of the first Consumer Product Safety Commission bike requirements which were introduced in the early 1970s. That’s when spoke reflectors appeared too.
By the 1980s tin and aluminum end caps were introduced which is the standard type available today. They come in different sizes since brake cables are larger than shift cables. So to stock your home shop you want to get both.
A few hacks for stopping fraying I’ve seen include (feel free to share yours in a comment): super glue, electrical tape (tends to fall off pretty quickly) and a spoke nipple crimped to stay in place (always looks a little strange to me).
Another workaround is to leave the cable long and wind it around itself making a loop that rests next to the derailleur or brake. That way if the cable frays it’s possible to cut off the frayed part. The problem I have with this is that if the wound cable unravels it could go into the wheel or derailleur and cause a crash.
On Italian racing bikes from back in the 60s and 70s I have seen very short caps made of brass. These caps didn’t have ends so they were more like sleeves than caps. They were crimped in place and so small they were barely noticeable. I’ve never seen any of these for sale anywhere. But you can buy small brass tubing, cut it with a Dremel cutting wheel and make your own if you like the idea.
The problem with all end caps is that they have a tendency to fall off. This happens if you mistakenly put a brake end cap on a shift cable because it’s too large for the cable. And it can happen even if the cap’s the correct size if you didn’t crimp it securely enough to get the cap to stay put.
And the bad part is, if the cable end manages to come off, it often exposes a cable that’s starting to fray because the crimping of the end cap crunched the cable spreading the smaller wires.
So I was excited to learn about Park Tool’s new EP-1 End Cap Crimping Pliers https://amzn.to/3QDKjiQ It’s the first tool I’ve seen that puts a professional factory-level crimp in cable caps so they won’t come off.
The jaws fit into tight spaces for easy crimping and work lengthwise and sideways too. You can see the clean crimp it makes in the photo.
I also recently learned from my friend and fellow bike mechanic Leonard Rubin that the type of cutter that cable companies use is available now https://www.alligatorcables.com/portable-wire-cutter-set.html. It allows you to simultaneously cut and bond the ends of cables by melting so that they can’t fray.
I don’t know what this tool costs but it’s nice to see that things that were only available from the factory are starting to make their way to us. My friend is delighted to have it.
Jim Langley is RBR’s Technical Editor. A pro mechanic & cycling writer for more than 40 years, he’s the author of Your Home Bicycle Workshop in the RBR eBookstore. Tune in to Jim’s popular YouTube channel for wheel building & bike repair how-to’s. Jim’s also known for his cycling streak that ended in February 2022 with a total of 10,269 consecutive daily rides (28 years, 1 month and 11 days of never missing a ride). Click to read Jim’s full bio.
When I worked in a nonprofit shop where we rebuilt and sold old bikes, many of the bikes that were donated to us were missing crimp caps and thus had fraying cables ends, even though the rest of cable was still working fine. We found that with a little patience, we could usually gather the frayed ends and retwist them together (lineman’s plyers worked best for this), and then slip a new crimp cap on.
Thanks for the tip Stan!
Lately, I’ve. been sliding a short length of shrink tubing over the uncut cable, heating it just enough to secure it in place at the desired position, and finally cutting the cable and small bit of the tubing all at once. Looks neat and stays in place, too.
Thanks for the tip, Merle. Heat shrink tubing is a nice way to do it that I meant to but forgot to include. Appreciate you sharing it.
I’ve used the super glue technique with good success before. I quit doing this because it can leave a pretty sharp end on the cable. My theory is cable ends not only keep the cable from fraying, they also prevent the cable from sticking you if you wreck so you don’t get a cable injection. I also believe one of the functions of bar end plugs is to prevent core sampling flesh during a wreck. Can anyone confirm or discount these two theories.
Yes that’s a definite Commissaire check I do during every race briefing, its a UCI Rule and a no strat without a commercially made plug, ive had champagne corks and gaffer tape.
Crimp-type wire connectors work. Select a size that fits the cable. Snip off the connector (typically round, flat, or half-round) and crimp on the cable. Leave the insulated cover on for a bit of red, blue, yellow for bling; or cut it off.
Thanks for the tip Barry. Connectors for electrical wires come in so many types and styles would you be able to explain a little more about which type work for bicycle cables? If I can find some online I’ll put in a link so everyone can see what they look like.
I use Jagwire cables for the rear derailleur. These come in different lengths so I do not have to cut the cable, I just wrap the excess in a nice circle around the derailleur. For everything else, front shifter and brakes, I heat the cable where I want to cut it with a heat gun, then drip paraffin wax into the strands. This stabilizes the ends from fraying. Once hardened I use a crmip-on end. If I have to re-thread a cable, the wax holds the strands so they slide through the housing.
The Alligator factory cable cutter is “only” $999.99 from Modern Bike. Alas, it’s out of stock (said with tongue in cheek.)
I would suggest a 16-14 wire gage for the brake cables, and 22 – 18 for shift cables. Though one could crimp down the 16-14 for if needed. A complete set from Harbor Freight with a crimp tool can be found for under 10 bucks. Any hardware store would carry them as well. Ask for Solderless Terminals or Wire Connectors.
Two things I would definitely recommend to get the best wire cuts, solder first. Figure out were the cut needs to be within range, clean the wire, use a nice hot iron and the right solder, and completely coat the wire circumference with solder. Second thing use a Dremel tool with metal cutting wheel attached to make the cut. From my experience most mechanical cutters deform the before cutting which leads to fraying. The cut off wheel is faster and gives you a clean straight cut. After the cut use a small file to clean away excess solder.
The secret to soldering is to heat the wire, not the solder. Touch the soldering iron or gun to one side of rhe cable and the solder yo thr other. Also, dip the cable end in Flux paste before soldering. The Flux will pull the solder into the cable when soldering.
For stainless cables, silver solder and acid flux work best.
Your email address will not be published. Required fields are marked *
Notify me of follow-up comments by email.
Our cycling expert editors and writers choose every product we review. We may earn an affiliate commission if you buy from one of our product links, at no extra cost to you. This income supports our site.
Pipe Cutting Machine Copyright © 2023 · Magazine Pro on Genesis Framework · WordPress · Log in